DIY Metallic Vinyl Wraps: Make Your Car the Centerpiece Creatively!
Are you looking to give your car a fresh, eye-catching look without breaking the bank? Metallic Vinyl Wraps are the perfect solution! Not only do they offer a sleek and modern finish, but they also allow you to express your personal style creatively. Best of all, with a little patience and effort, you can apply these wraps yourself. Here's everything you need to know about transforming your car into the centerpiece it deserves to be.
---
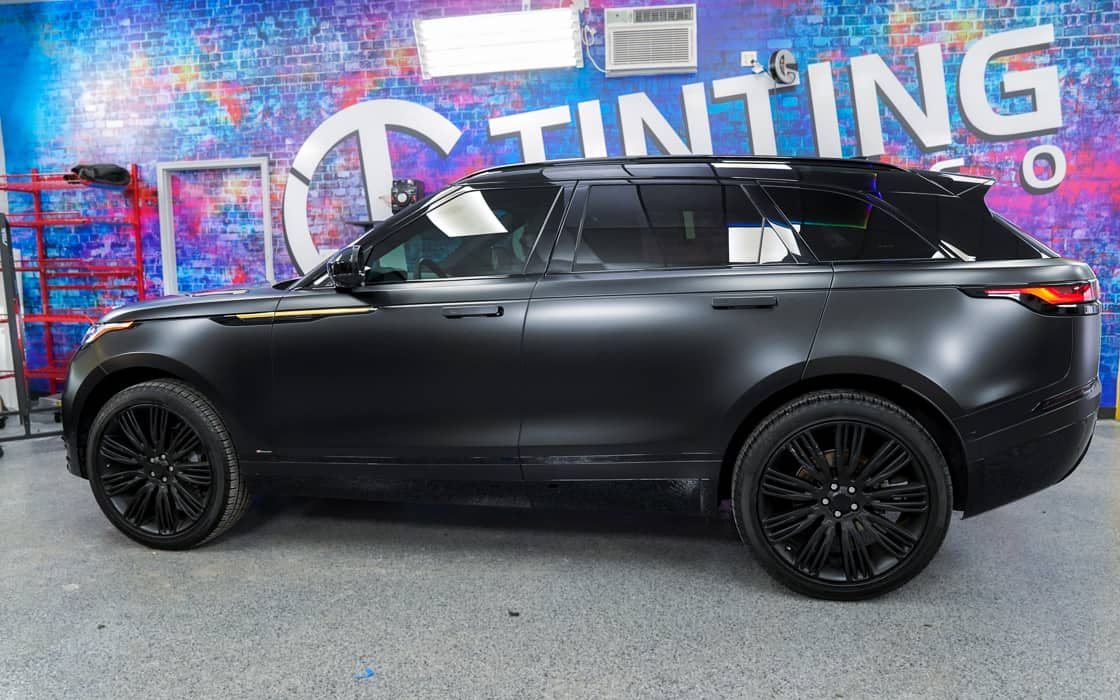
"Why Choose Metallic Vinyl Wraps?"
Metallic vinyl wraps are a cost-effective and temporary way to upgrade your car's appearance. Unlike a traditional paint job, which can be expensive and permanent, vinyl wraps are versatile and removable. They come in a variety of colors and finishes, from glossy chrome to matte metallic, allowing you to customize your vehicle however you like.
Beyond aesthetics, wraps also serve as a protective layer for your car's original paintwork, shielding it from UV rays, scratches, and minor abrasions. If you ever decide to revert to the original look or try a new design, the wrap can be peeled off without damaging the surface underneath.
---
"What You'll Need"
Before diving into the project, gather the following supplies:
- Metallic vinyl wrap of your choice
- Squeegee or applicator tool
- Heat gun or hairdryer
- Utility knife or precision blade
- Cleaning solution (preferably alcohol-based)
- Microfiber cloth
These tools are essential for achieving a smooth and professional-looking finish.
---
"Step-by-Step Guide"
1. "Prepare Your Car"
Start by thoroughly cleaning your car's surface. Use an alcohol-based cleaning solution to remove dirt, grease, and any residue that could interfere with the adhesive. A clean surface ensures better adhesion and a flawless finish.
2. "Measure and Cut the Vinyl"
Measure each section of your car that you plan to wrap and cut the vinyl accordingly. Be sure to leave a small margin around the edges for adjustments.
3. "Apply the Vinyl"
Peel off the backing paper from the vinyl and carefully position it on your car. Use a squeegee to smooth out air bubbles and wrinkles as you go. Work slowly, starting from one end and moving toward the other.
4. "Use Heat for Contours"
For curved or uneven surfaces, use a heat gun or hairdryer to make the vinyl pliable. This allows it to stretch and conform to the shape of your car. Be cautious not to overheat, as this can damage the material.
5. "Trim Excess Vinyl"
Once the wrap is applied, use a utility knife to trim any excess material around edges, seams, and corners. Take your time to ensure clean lines for a professional look.
6. "Seal and Inspect"
Go over the entire surface with the squeegee one last time to ensure proper adhesion. Inspect your work for any bubbles or imperfections and address them as needed.(Vinyl Wraps)
---
"Tips for Success"
- Practice on smaller sections before tackling larger areas like the hood or roof.
- Work in a clean, dust-free environment to avoid debris getting trapped under the vinyl.
- Don't rush—patience is key to achieving a flawless finish.
---
"Show Off Your Masterpiece"
Once your metallic vinyl wrap is complete, your car will undoubtedly turn heads wherever you go! Whether you're aiming for a bold statement or a subtle upgrade, vinyl wraps allow you to showcase your creativity while protecting your vehicle.
So why wait? Grab your tools, pick your favorite metallic shade, and start transforming your car into a stunning work of art today!